Introduction
Nutanix resources are used in private, public, and distributed clouds. These resources empower IT to deliver applications and data that power their businesses.
Remote discovery and monitoring of Nutanix HCI workloads are supported which provide visibility into the health and performance of Nutanix HCI elements (clusters, hosts, storage controllers, and VMs).
Once integration is configured, all infrastructure elements are discovered and and displayed as a hierarchical view on the Infrastructure page. Global monitoring templates are used to enable monitoring and alerts for supported Nutanix elements.
Monitoring templates are available for monitoring the following Nutanix HCI elements:
- Nutanix clusters
- Nutanix hosts
- Nutanix storage controller (data stores)
- Virtual Machines (VMs)
All supported metrics are available from Monitoring > Templates. Alternatively, search for the Nutanix template to view related metrics.
OpsRamp configuration
Configuration involves:
- Creating credentials.
- Configuring the integration.
- Adding a discovery profile.
- View the Nutanix details.
- Assign the monitoring template.
- Verify the integration.
Step 1: Create credentials
To create credentials:
- Select a client from the All Clients list.
- Go to Setup > Accounts > Clients.
- On the client’s Credentials tab, add the credential information.
- Enter the Name and Description.
- Select the credential type as Nutanix.
- Enter username and password to access Nutanix.
- Enter the port number for HTTPS connection. Select the Is Secure checkbox for a secured connection and set
443for the port number. For unsecured connections, enter9440. - Provide the Connection Time out in milliseconds (default time-out is 1000 milliseconds).
- Click Save.
The user credentials are saved.

Adding User Credentials to Nutanix
Note
To use a domain account to access Nutanix, specify the domain with the username indomain@username format.Step 2: OpsRamp integration
To integrate:
- From All Clients, select a client.
- Go to Setup > Integrations > Integrations.
- From Available Integrations, select Compute > Nutanix and click Install.
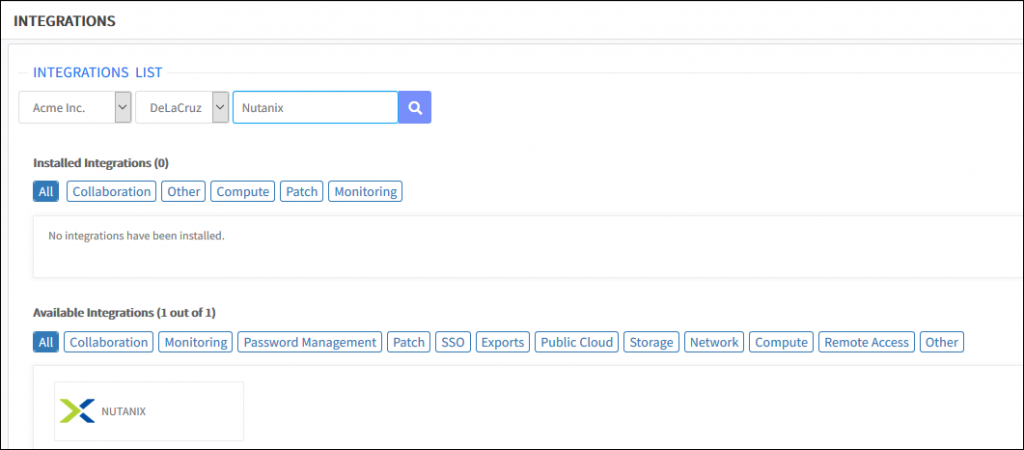
Search for Nutanix
- Provide the following:
- Name
- IP address
- Credentials. Select an existing credential or create a new credential.
- Click Install.


Nutanix Installation
Step 3: Add a discovery profile
To add a discovery profile:
- Click Add to create a discovery profile.
- Select Management Profile.
- Filter for resources that need be discovered.
- Select Smart Filters to filter resources based on the resource type. Select All Resources to discover all resources types of Nutanix.
- Select Resource Filters to filter resources based on certain resource attributes.
- Select matching criteria to match Any or All rules.
- Filter for resources using the following attributes: resource type, attribute name, logical operator, and value.
Note
Use regular expressions to filter resources using logical operator Regex.
- In Perform Actions , select Manage Device if the resources need to be managed.
- To schedule the discovery process:
- Select Discovery Schedule.
- Select the preferred Recurrence Pattern.
- Click Save. Discovery triggers based on the scheduled time.
Step 4: View the Nutanix details
Nutanix is now successfully integrated and appears in the Nutanix category of the Infrastructure page. Click the name to view details.
Step 5: Assign the monitoring template
Assign monitoring templates to Nutanix.
- To view how to apply monitoring templates, see the Onboarding Guide.
- Scroll down to the VMWare section to view the recommended templates.
Step 6: Verify the integration
Validate if the resource is integrated successfully in the Onboarding Guide.
Nutanix is now being monitored and managed.
Uninstall integration
To uninstall the integration:
- Click All Clients and from the displayed list, select a client.
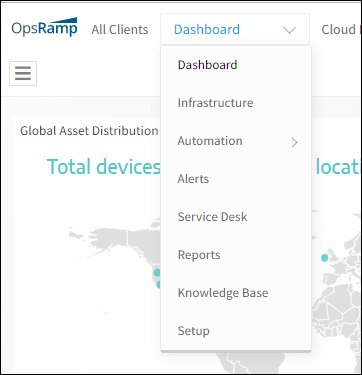
- From the options in the drop-down menu, click Setup.
Nutanix Installation
- From the left pane, click Integrations > Integrations. The installed and available integration of the selected client appears.
- From Installed Integrations, click Compute. The list of installed Compute Integrations are displayed.
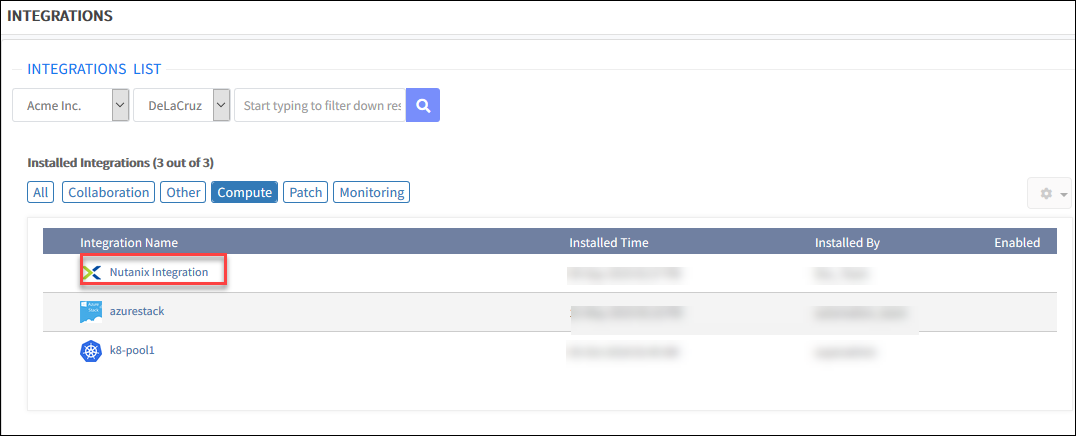
Compute Integrations
- Click the desired integration.
- From the selected integration page, click Uninstall.
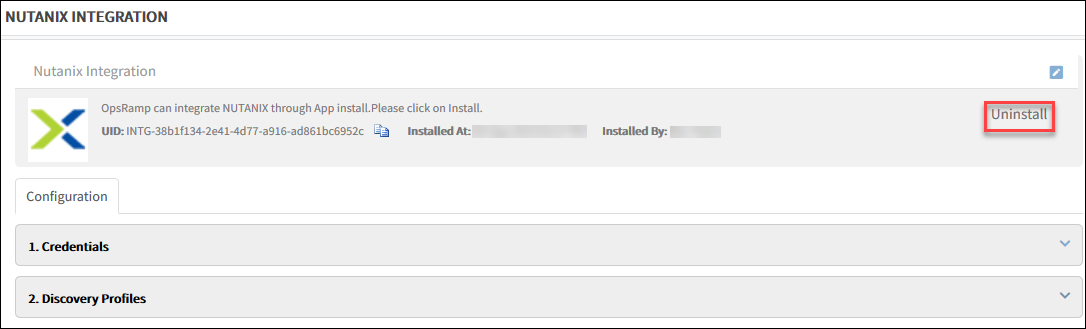
Uninstall Nutanix
- The system displays a confirmation message for uninstalling the selected integration.
- Provide the Reason for uninstalling the integration. This is mandatory.
- To retain the agent installed resources in the system, select the Keep agent installed resources checkbox. If this checkbox is not selected, all the resources installed by agent gets deleted along with the integration.
- Click Ok to uninstall the integration. The integration is uninstalled.


