Introduction
Java consoles allow you to access a remote server using a Java-based plugin.
Note: OpsRamp recommends using Browser Console. For any questions related to Java Console, contact OpsRamp Support.
Prerequisites
The following prerequisites are required for the Java plugin:
- Java version 8.x or later (Oracle JDK)
- Oracle JRE has to be installed
- Agent and gateway versions 4 (or higher).
Types of supported protocols
The types of supported protocols supported by the Java console are the following:
- RDP
- SSH
- Telnet
- FTRANSFER (FTP)
- RMSHELL
- TeamViewer (if installed TeamViewer integration)
- NEC UNIVERGE PC PRO (If installed NEC UNIVERGE PC PRO integration)
Key highlights
The Java console provides the following key features:
- Playback console session recording
- Clipboard access
- Data transfer
- Multi-console launch
Adding Java consoles
Add the details of the remote device to launch a console.
Launching Java consoles
To launch a Java console:
Select a client from the All Clients list.
Go to Infrastructure and select the category associated to the target resource.
Click the resource name to launch a Java console.
From the resource Overview page, click the Consoles button.
From the console list, click the Java console icon associated with the console name and download a
.jnlpfile.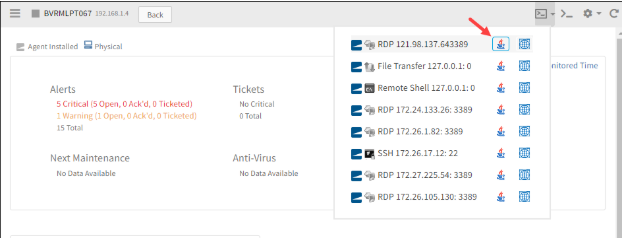
Launch a Java Console
Download and open the
.jnlpfile.From the Console Login page, enter the Ticket ID/Alert ID.
For Activity Log Note, enter any comments for the RDP console activity (optional).
Enter the Username and Password.
Note: Username and Password fields are disabled when adding a console.Click OK.
The RDP console is successfully launched.
Disconnecting Java consoles
To disconnect a Java console:
- From the Java console window, click Close (“X”) icon.
- Click Yes.
The session is disconnected.